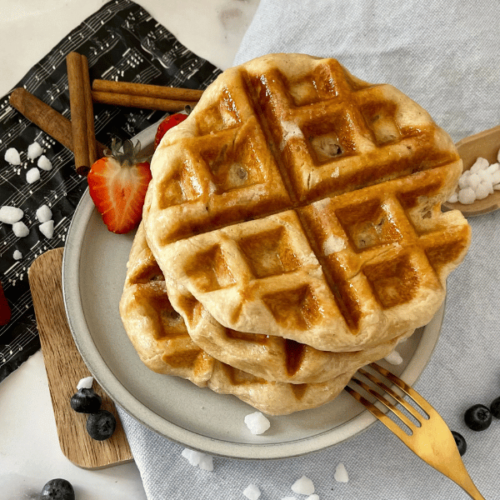
Belgium Liège Waffles
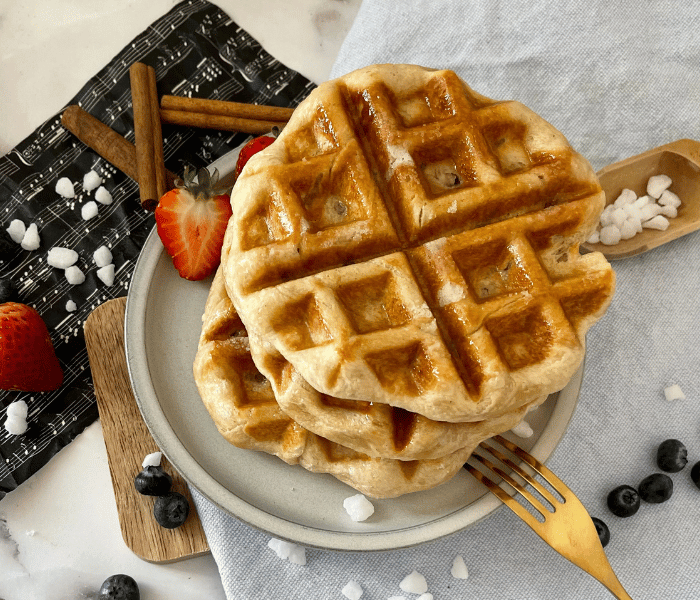
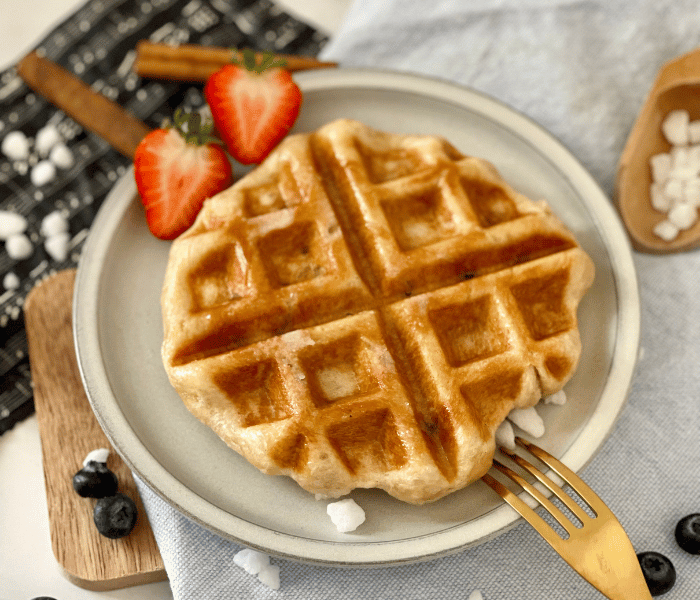
With a crunchy, caramelized exterior and a soft inside, these Belgium Liège Waffles are extraordinary. It doesn’t get better than this! Once you take a bite, you will never want to eat any other waffle again. Make the dough the day before and enjoy fresh waffles the next day.
When I worked as a Flight Attendant, I was always curious about trying new foods from different countries. I only flew to Belgium a handful of times, but I realized quickly that Liège Waffles are a must during any stay, no matter how short. Because they are the ultimate waffles, it doesn’t get better than this!! Simple as that!
Street vendors are selling them in many of the city squares all over town. You can watch the vendors make them right in front of you and hand you the still-hot waffles wrapped in a paper napkin. They are more like a dessert than a breakfast, but you can eat them any time of the day.
[Disclosure: This page contains affiliate links. If you take action (i.e., make a purchase) after clicking on one of the links, I’I’llarn some tea money, which I promise to drink while creating new content for you 🥰. You do not pay a higher price!]

What to look for when making these waffles
This is not a quick recipe! Since Belgium Liège Waffles are made from yeast dough and not batter, it needs time to rest. Lots of time! The longer you let the dough sit, the more flavorful the waffles will be!
Also, this recipe will make 16 waffles. If you don’t want that many, cut the recipe in half!
Dough:
➙ Knead the dough until it is soft, smooth, and stretchy, meaning you can easily stretch the dough paper thin without it tearing. It takes endurance to knead the dough by hand if you don’t have a stand mixer, but the result is so worth it! A well-kneaded dough will lead to fluffy, airy waffles.
➙ Let the dough rest!! Once the dough is kneaded, place it in a big bowl and cover it with bowl covers or a wet kitchen towel. Let it rest for two hours. After two hours, punch it down and let it deflate, roll it into a ball, place it back into the bowl, and tightly cover it with the bowl covers or plastic wrap. Make sure it’s airtight to prevent skin from forming on the dough. Place the bowl in the refrigerator overnight for a minimum of 8h to a maximum of 24h.
➙ The following day, take the dough out of the refrigerator and let it sit for about an hour at room temperature. Then add the sugar pearls. It is essential to wait to add the sugar pearls until the day of. If you add them too soon, they will dissolve inside the dough.
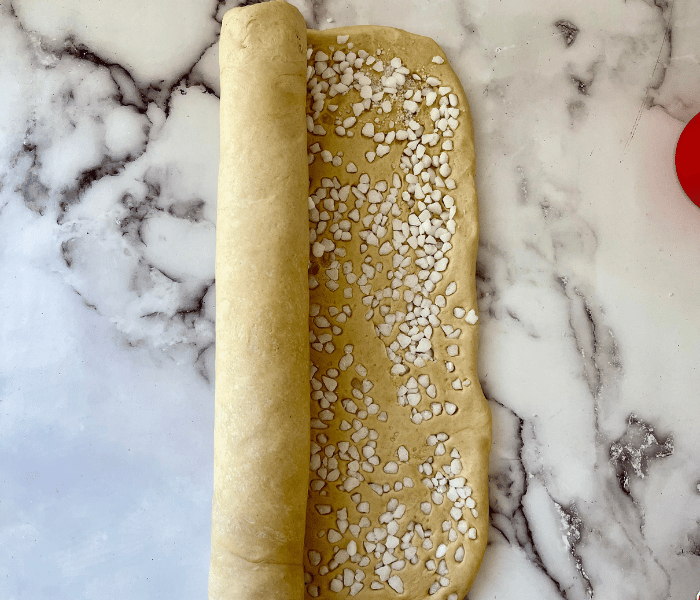
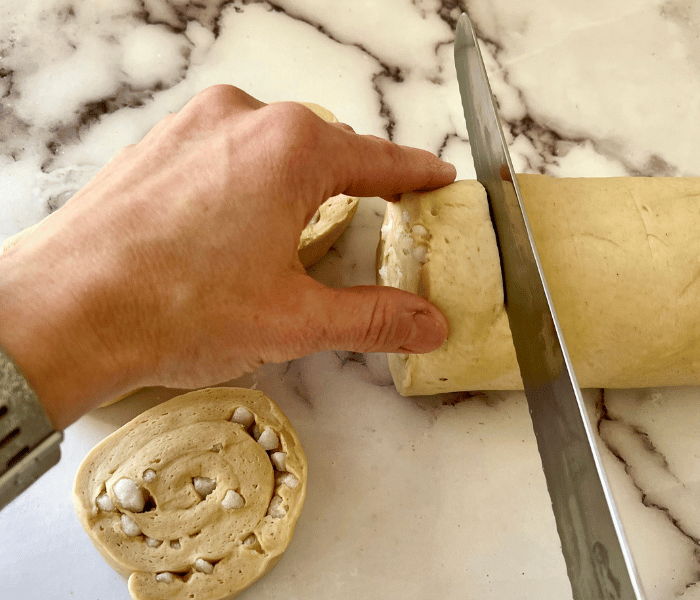
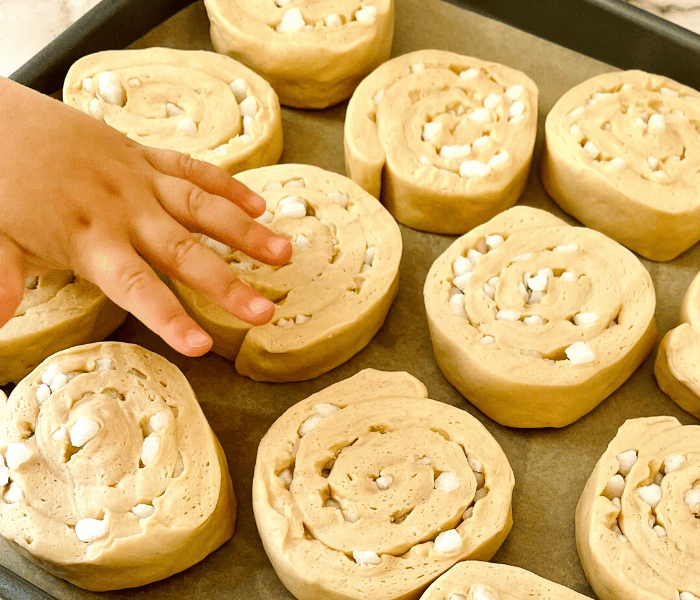
➙ Since the dough is still cold, you can easily roll it out into a big rectangular shape, about 1/2 inch thick (1 1/2cm). Drizzle the sugar pearls over it, and with a rolling pin, roll over them to push them into the dough. This is the easiest way to add the sugar pearls, in my opinion, instead of kneading them into the hard dough. Then roll up the dough like you would for cinnamon rolls. Cut them into 1-11/2 inch rolls and place them on a baking sheet.
Baking:
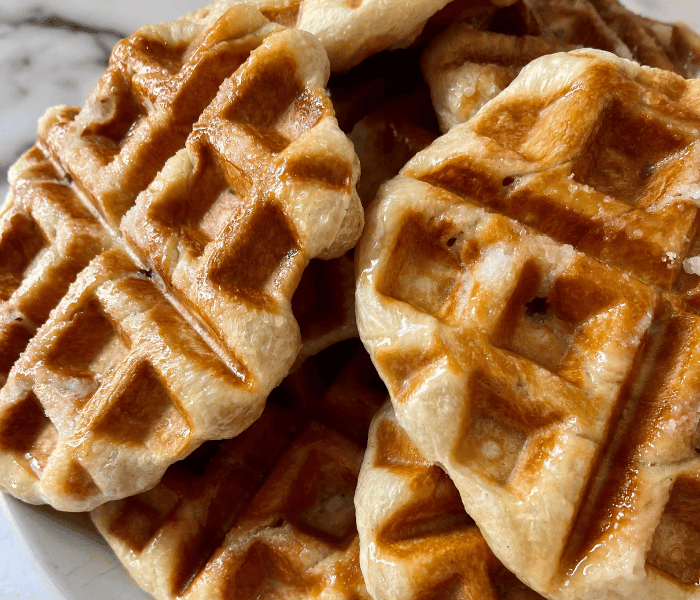
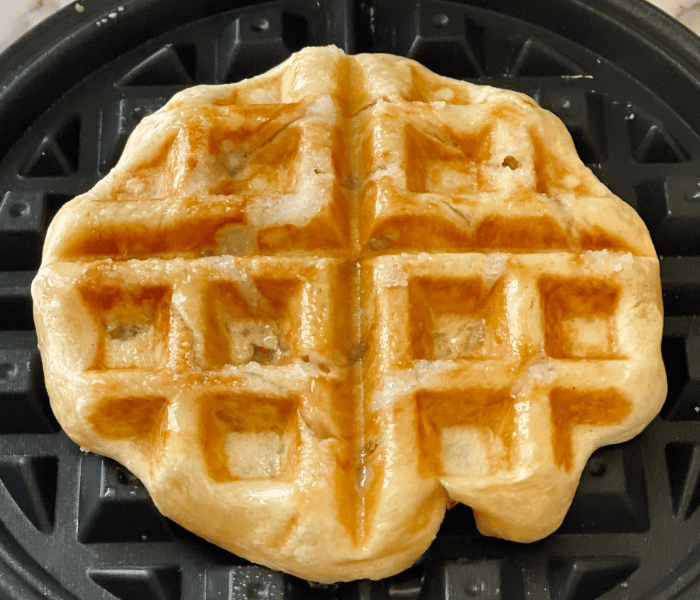
➙Sugar burns at 375°F! So you have to ensure your waffle iron is not too hot, or the pearl sugar will burn. That is no fun, especially since you already put so much work into making the perfect waffles.
But, since most of us don’t have one of these super heavy and big special cast iron waffle irons they use in Belgium to make these Liège Waffles, we have to work with what we have! And I assure you they will turn out fine with a good old regular waffle iron.
You want to bake the waffles at 360°F-370°! If you have one of these waffle irons that don’t have a temperature setting but just a knob to turn from low to hot (like mine), you might have to play around to find out which setting works best. Start with the temperature being lower rather than too hot.
What is Pearl Sugar?
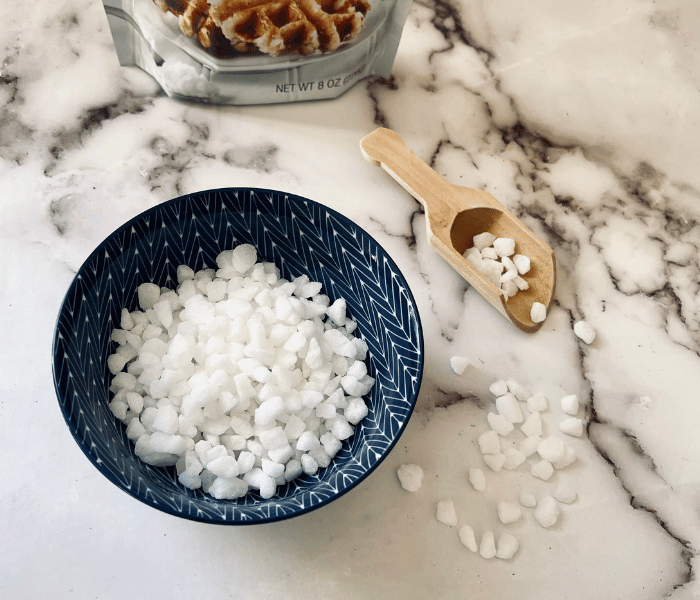
Pearl sugar is what makes these waffles so unique. It gives them its caramelized coating and crunchy outside. Pearl sugar, surprise, is made in Belgium; it is clumps of sugar that are very coarse and hard! It is made out of beet sugar rather than cane sugar.
It is not often sold in regular grocery stores but can sometimes be found in specialty grocery stores, especially those specialized in European products. I usually order mine on Amazon ➙ Pearl Sugar. However, it is pretty expensive, so if you don’t want to spend the money, you could crush up sugar cubes instead.
How to eat Liège Waffles?
I learned that, unlike the American Waffle, you eat Liège Waffles as is, that means, without toppings – most of the time at least. However, some street vendors poke a couple of holes in the waffle and slide small chocolate sticks in; these melt perfectly.
But, since these Belgium Liège Waffles are so sweet, there is no need to add more sweetness to them by pouring syrup, heavy whipping cream, Nutella, and whatnot over it. Plus, adding toppings will only take away from the incredible flavor! They are scrumptious eaten without anything on them!!! But if you feel they are too “naked” without anything added, you could dust them with powdered sugar or garnish them with fresh fruit!
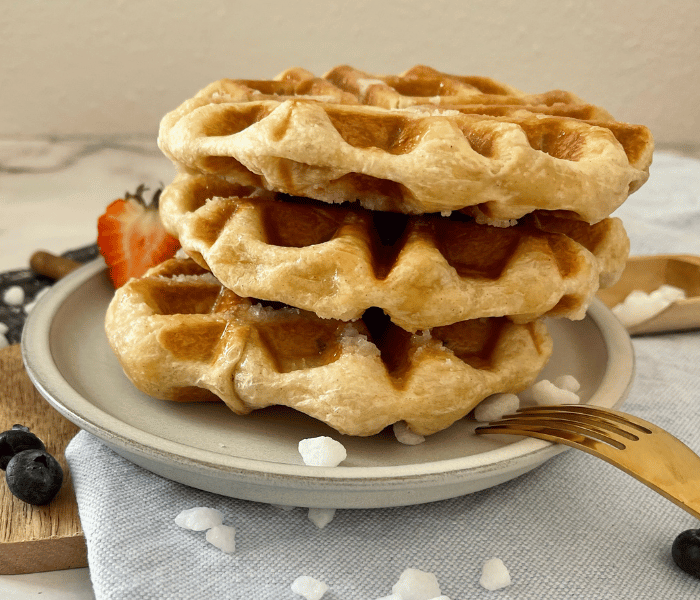
E Guete, (Bon appétit)!! Don’t forget to share some pictures with me and tell me how you liked these Belgium Liège Waffles. Also, it would make my day if you tag @mirjamskitchenyodel on Instagram, share on Facebook or pin on Pinterest.
You might also like the following recipes:
Apple Cinnamon Streusel Muffins

Belgium Liège Waffles
Ingredients
- 700 g All-purpose flour
- 40 g Dark brown sugar
- 2 1/2 tsp Salt
- 2 tsp Instant dry yeast
- 1 tsp Ground cinnamon
- 2 Eggs
- 1 tbsp Vanilla extract
- 350 ml Whole milk
- 230 g Butter softened and cut into pieces
- 180 g Pearl sugar
Instructions
Dough:
- Add the Flour, sugar, salt, and yeast to your stand mixer bowl and mix it up with a wooden spoon or the dough hook (to save dishes). Use a large mixing bowl if you don’t have a stand mixer.
- Then add the eggs, vanilla extract, and milk to the dry ingredients. Knead it on low until a dough forms.
- Add the softened butter to the dough, only a few cubes at a time. Knead the dough well in between before adding more butter. This should take about 5-10 minutes. Note: This dough is pretty wet
- Increase the speed of your stand mixer and knead the dough until it is soft, smooth, and stretchy, meaning you can easily stretch the dough paper thin without it tearing. If you are kneading by hand, work that dough for at least 15 minutes. I know this is quite the workout, but you will be thankful you did it when you bite into the end product.
- Then cover the bowl with a bowl cover or a wet kitchen towel. Let the dough rest for two hours. After two hours, punch it down, let it deflate, and roll it into a ball. Place it back into the bowl and tightly cover it with the bowl covers or plastic wrap. Ensure it’s airtight to prevent skin from forming on the dough.
- Place the bowl in the refrigerator overnight for a minimum of 8h to a maximum of 24h.
Adding the Pearl Sugar & Forming:
- The next day, take the dough out of the refrigerator and let it sit for about an hour at room temperature.
- Then, with a rolling pin, roll the dough into a rectangular shape until it is about 1/2 inch thick (11/2cm). Drizzle the pearl sugar over it, and with the rolling pin, roll over them to push them into the dough. This is the easiest way to add the pearl sugar, in my opinion, instead of kneading them into the hard dough. Then roll up the dough like you would for cinnamon rolls. Cut the roll into 16 1-11/2 inch rolls, place them on a baking sheet, and cover them with a towel or plastic wrap.
- Let them sit for 15 minutes.
Bake the waffles:
- Preheat the waffle iron. Important: Sugar burns at 375°F!! So, don’t turn the heat up all the way. These waffles turn out best if you cook them at around 360-370°F.
- Preheat the oven to 150°F. You will need the oven to place the baked waffles in to keep them warm.
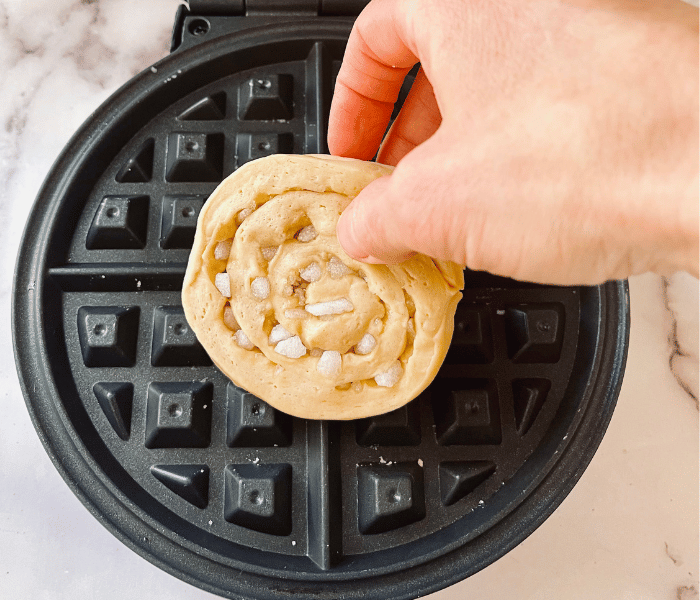
- Once the iron is hot, add one of the dough rolls to your waffle iron and push the lid down. Bake for about 3 minutes, flip, and bake for another 2-3 minutes. As I mentioned in my post, these times work for my waffle iron; you might have to adjust them according to your waffle iron. Check each side to see how they are doing.
- When the waffle is golden brown and shiny on both sides, remove them and place them on a big plate and into the oven to stay warm.
- Repeat with all the dough rolls. If the dough rolls rise too much, you can place the baking sheet they are on in the fridge.

