Brown Butter Chocolate Chip Cookies

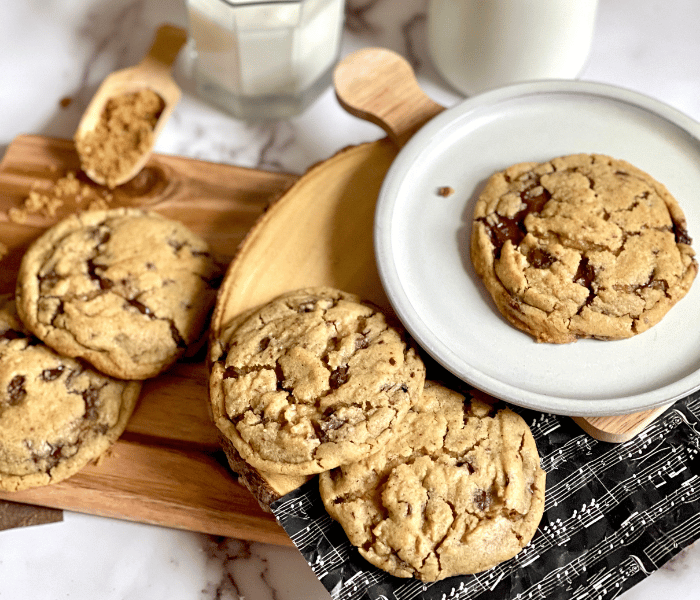
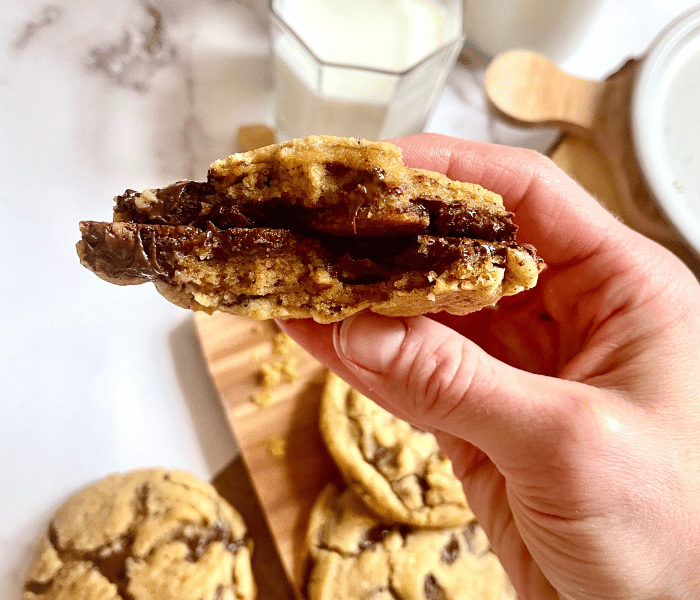
These Brown Butter Chocolate Chip Cookies are amazingly delicious! With a super moist and gooey center and excellent crispy edges. A chocolate chip cookie that is buttery and sweet and turns out perfectly every time!
Chocolate Chip Cookies are not something I find myself making regularly. I’m not sure if it is because I think cookies are somewhat boring or because I have so many other ideas about what I want to bake next that I don’t have time to make simple cookies. That’s why I didn’t have a great recipe in my repertoire until now!
But I know many people love a good old Chocolate Chip Cookie. So, I decided to finally take the time and figure out the perfect recipe for you. We ate lots of cookies at this house – nobody seemed to mind 😄.
It wasn’t hard to decide on the winner – these Brown Butter Chocolate Chip Cookies are all a chocolate chip cookie should be. Crispy and chewy, soft and moist, perfectly buttery and sweet! I’m so excited to share this recipe with you! It is a keeper, and I can guarantee you that you will return to it again and again.

[Disclosure: This page contains affiliate links. If you take action (i.e., make a purchase) after clicking on one of the links, I’ll earn some tea money, which I promise to drink while creating new content for you 🥰. You do not pay a higher price!]

The secret:
Brown Butter!! It gives these cookies a distinct, rich, deep, and nutty caramel flavor that is so incredibly tasty!
You might be wondering what Brown butter is. It’s a simple process where you melt butter and let it cook until it turns to an amber color – brown butter! An easy extra step (that requires a watchful eye) that makes a big difference in flavor. If you have never browned butter before, no worries; I will walk you through the process step by step.
How to Brown Butter Step by Step
⓵ Melt:
➠ Place the butter in a large pan; since it tends to foam up during the browning process, you want a big enough pan to avoid the butter overflowing. I prefer to use my heavy Le Creuset cast iron pot. It is white on the inside, making it a lot easier to see when the butter turns color. But if you don’t have a white-colored pan, any regular pan also works.
➠ Start melting the butter over medium-low heat, stirring constantly.
⓶ It gets cloudy:
➠ After all the butter has melted, it will become cloudy; keep stirring continuously.
⓷ It starts to foam:
➠ After the cloudy stage, the melted butter will start to bubble and boil, and foam will start to build on the surface. You are one step closer to having brown butter; just don’t forget to stir!
⓸ Cloudiness goes away, and the melted butter becomes clear:
➠ In the next stage, after bubbling and boiling for a few minutes, the melted butter becomes clear, and you will be able to see the bottom of your pan. Keep stirring!
⑤ It starts to foam again:
➠ This is the crucial step where you must pay close attention to the color of the melted butter. It goes from clear to foamy and will brown quickly at this point. The milk solids in the melted butter start to toast and turn dark brown; this is no reason for concern. Keep stirring until the melted butter has reached a rich amber color.
⑥ Listen to the butter and remove it from the heat:
➠ Once your melted butter has reached the desired amber color, remove it from the heat.
➠ Another fun tip, listen to the butter. Yes, you read that right! The moment the butter stops crackling and grows quiet is the cue to take it off the heat. So listen closely for the sizzling and spitting to stop.
Did I burn my butter?
Why are these brown pieces in my butter all of a sudden? Did I burn it? Probably not! These little brown pieces are milk solids that toast during the process and turn brown. You actually want these dark pieces in your cookie since they have tons of flavor, so make sure you scrape them all out at the end!
But to go back to the question, did I burn my butter? There is only one way to find out! You have to sample it! But be careful, the butter is very hot!!!
You will instantly know whether the butter has burnt or not. Burnt butter tastes bitter and not good at all; brown butter, on the other hand, has a rich nutty, slightly caramel taste.

How to cool the butter faster after it has melted?
Since we can’t use the butter in a melted stage for this recipe, it needs to solidify again after the browning process.
I usually place a pan in the freezer before melting the butter to quicken it up. Once the butter is melted and browned, pour it into the cold pan and back into the freezer or fridge to harden up. Make sure you don’t use a glass bowl in the freezer; it could crack from the temperature change when you pour in the hot butter.
When using it for this recipe, the butter should be back to a soft, not hard, stage (about room temperature). I advise checking on it a few times, so it doesn’t get too hard.
Don’t overbake the cookies!!
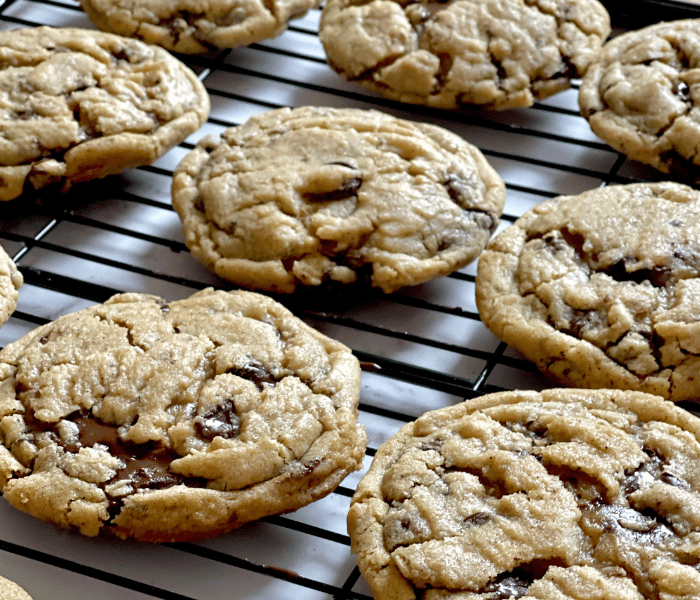
Bake until they just barely look done! They only need about 8-9 minutes in the oven. The cookies might not look done to you when you pull them out, but they are! They still look a little doughy when coming out of the oven, which is good; that’s precisely how you want them! They will set as they sit on the warm cookie sheet.
Let them sit on the cookie sheet for 5 minutes, then transfer them to a wire rack to cool completely. Or start eating them while they are still warm and the chocolate chips are melty.

Tips:
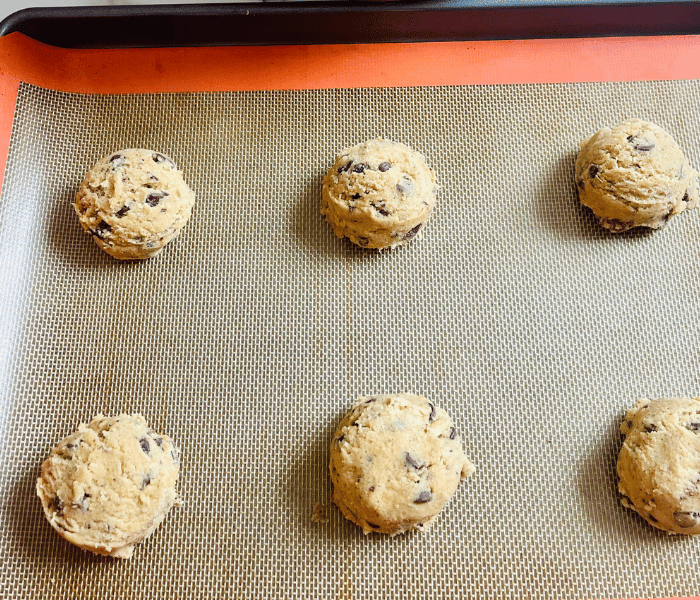
➙ Make the cookies big! I have tried them smaller, but I prefer the bigger ones! I use my biggest cookie scoop, which equals 1/4 cup. Making them big will give you a perfect, soft, gooey center and crisp edges.
And using a cookie scoop will help you with uniform cookies in size, which also makes the baking easier since they will all bake evenly.
If I cannot convince you to make big cookies, feel free to make them smaller, and adjust the baking time accordingly.
➙ Store these Brown Butter Chocolate Chip Cookies in an airtight container at room temperature for up to 5 days or in the freezer for up to 3 months.
E Guete, (Bon appétit)!! Don’t forget to share some pictures with me and tell me how you liked these Brown Butter Chocolate Chip Cookies. Also, it will make my day if you tag @mirjamskitchenyodel on Instagram, share on Facebook or pin on Pinterest.
If you loved this recipe, you might also like the following:
Filled Sweet Bread – Gefüllter Hefezopf

Brown Butter Chocolate Chip Cookies
Equipment
Ingredients
- 280 g Browned Butter (Read the blog post above for detailed step-by-step instructions on how to brown butter!!)
- 200 g Granulated sugar
- 150 g Dark brown sugar
- 2 Eggs
- 1 1/2 tsp Vanilla extract
- 1 tsp Salt
- 360 g All-purpose flour
- 2 tsp Baking soda
- 250 g Chocolate chips
Instructions
Brown the butter:
- Read the blog post above for detailed step-by-step instructions on how to brown butter!!
- Place a freezer-safe dish in the freezer; a pan works great. You don’t want to use a glass bowl to avoid cracking since you will pour the hot browned butter into it later.
- Add the butter to a heavy bottom pan, and brown it over medium-low heat, constantly stirring until you reach a deep amber color. This process takes about 8 minutes. Remove from the heat and pour it into the waiting pan in the freezer.
- Put the pan back into the freezer or fridge and cool the butter until room temperature consistency; you want the butter to be solid. If you use it while still liquid, your cookies will be flat.
Cookie Dough:
- Preheat the oven to 375°F or 190°C. Line a baking sheet with silicone baking mats or parchment paper.
- In a separate bowl, mix flour and baking soda. Set aside
- Take the solidified butter (it should still be soft, about room temperature) and place it in a mixing bowl with the granulated and brown sugar and cream with a hand or stand mixer.
- Add one egg at a time, mix well in between, then add the vanilla extract and salt and beat until fluffy and lighter in color.
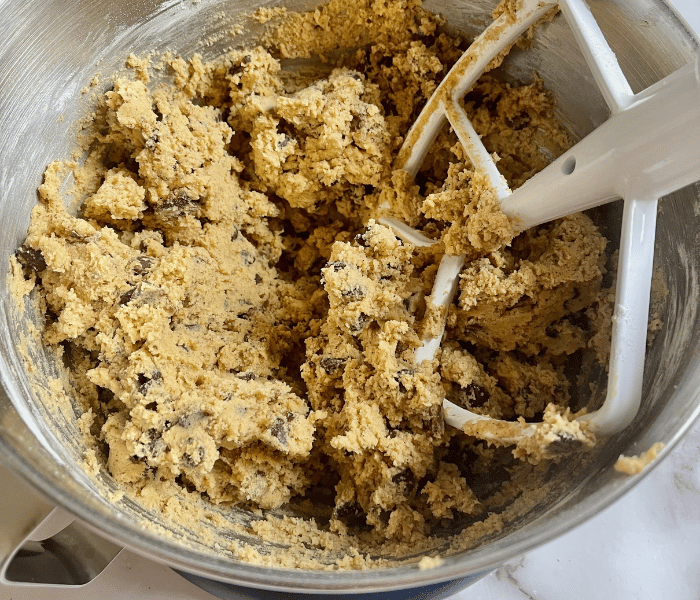
- Add the flour/baking soda mixture to the wet ingredients. Mix until just barely combined, then add the chocolate chips. Mix until incorporated. Make sure you don’t mix too long, or the cookie will be dense.
- Take the biggest cookie scoop (1/4 cup) and scoop the batter into balls onto the baking sheet. Space them evenly, about 2 inches apart, since they will flatten out.
Bake:
- Bake for 8-9 minutes, until the cookies barely start turning light brown. They will still look a little doughy, but that’s precisely how you want them. They will set as they cool.
- Let them sit on the baking sheet for about 5 minutes before transferring them to a cooling rack.
