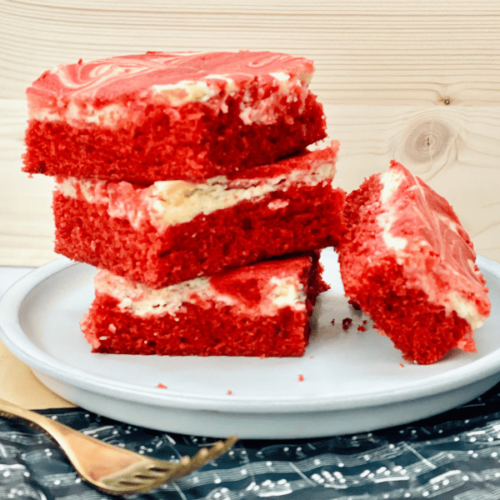
Red Velvet Cheesecake Squares
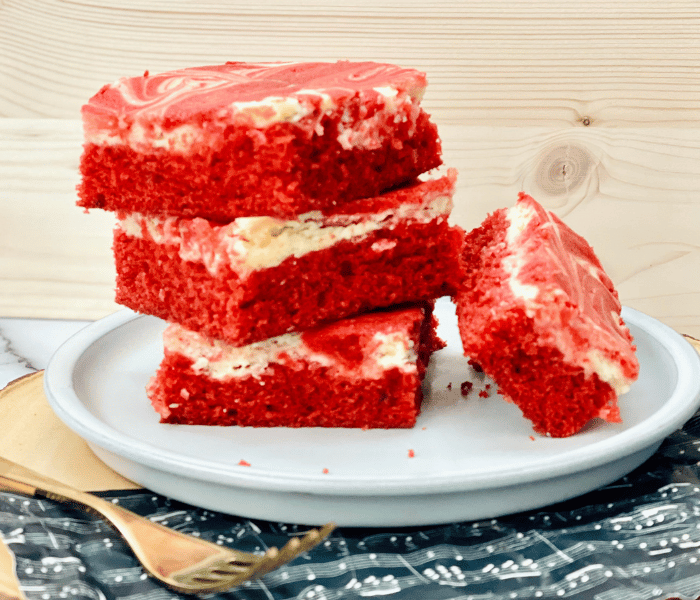
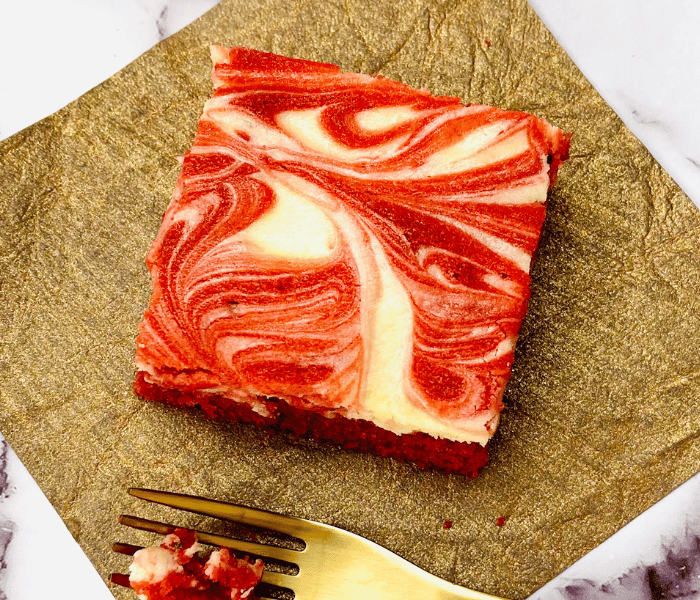
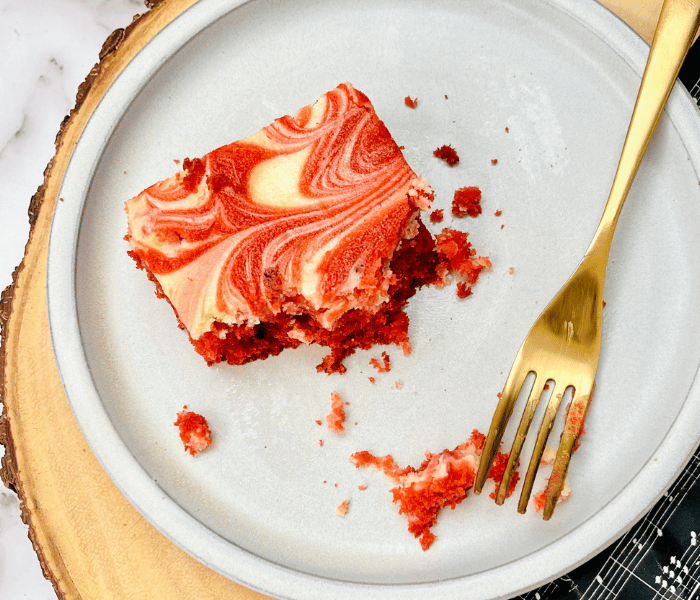
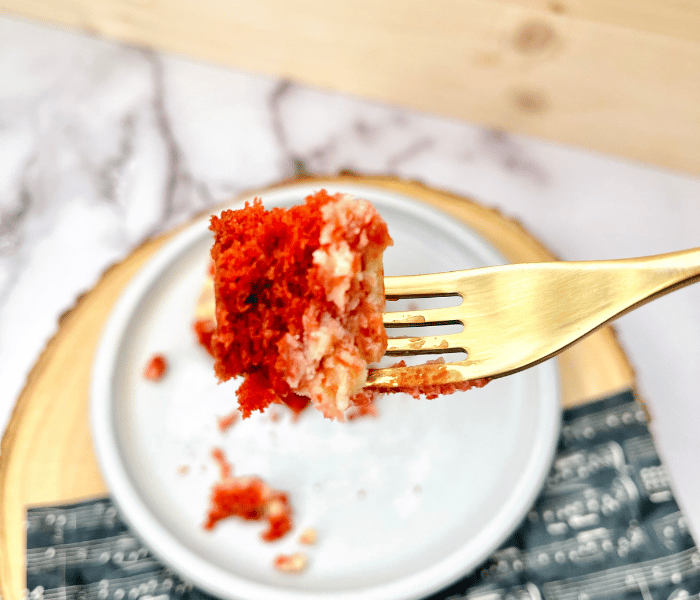
These Red Velvet Cheesecake Squares are perfect for Valentine’s day, the Christmas season, or anytime you are craving them. They are delicious, light & moist, and topped with perfect cream cheese swirls. This is an easy recipe everyone will enjoy!
Bake with your kids, grandkids, nieces, or nephews – if you get a chance!
It will be messy and take longer, BUT it is so much fun and great for the soul!
At least, that’s how I feel. My secondborn is currently my all-time baking partner; whenever I start something in the kitchen, he’ll get his apron out, push his kitchen helper to the counter, and say: “I want to help you, Mommy!” I love it!
Our latest bake together was these Red Velvet Cheesecake Squares. He cracked eggs, added sugar and flour, mixed and poured, and of course, licked the spoon and bowl at the end. We had a wonderful time together! And the best part was to see how proud he was of himself once they came out of the oven and he could take a bite.
[Disclosure: This page contains affiliate links. If you take action (i.e., make a purchase) after clicking on one of the links, I’ll earn some tea money, which I promise to drink while creating new content for you 🥰! You do not pay a higher price!]

Tips:
Swirl, don’t mix
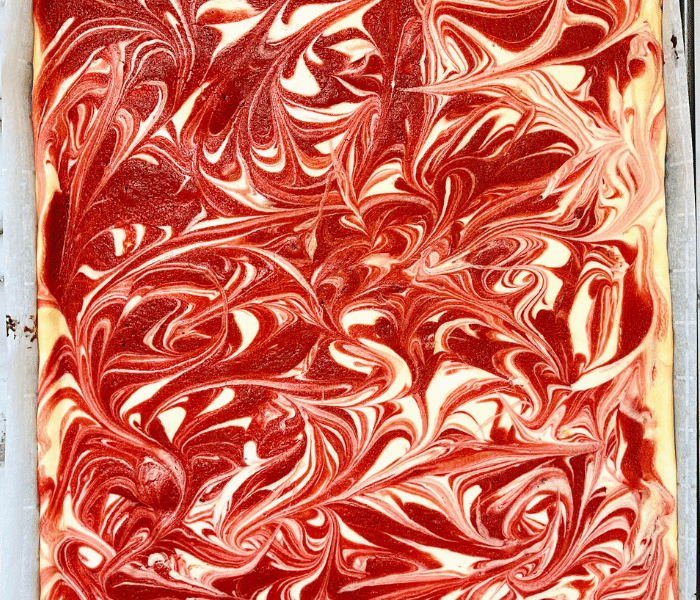
To give this nice combined red and white visual effect, bring some red velvet batter up into the cheesecake layer and swirl. If you swirl too much, you will end up with pink squares! Unless that’s what you are going for, swirl carefully!
Don’t overbake!
These Red Velvet Cheesecake Squares are thin and will bake pretty quickly. Even though they might not look done (the cheesecake on top can be a little deceiving), they don’t need more than 20-25 minutes in the oven.
Let them cool!
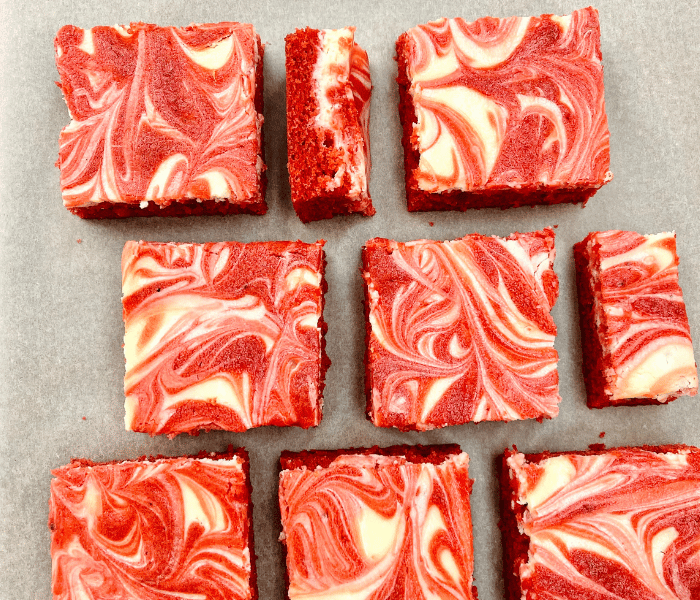
It will be much easier to cut them into squares if the cake is properly cooled. You can cut them with a big serrated knife. I like to cut mine into 4.5cm squares, but feel free to make them as big or small as you wish.
How to best store these Red Velvet Cheesecake Squares
You can probably imagine that we always have some dessert at the house. Since we can’t eat everything I’m baking right away, I often have leftovers. So I devised a system to keep desserts fresh as long as possible.
These Cheesecake squares are best stored in a sealed, airtight container in the fridge. Avoid stacking them, or they will stick together, place them in a single layer instead. Also, ensure that the squares have completely cooled before storing them to prevent condensation.
They also freeze very well. Place them in an airtight, freezer-safe container, and they will stay good for up to two months. To thaw, take them out of the freezer about 1 hour before you need them, or cover and place them in the refrigerator overnight.
E Guete, (Bon appétit)!! Don’t forget to share some pictures with me and tell me how you liked these Red Velvet Creamcheese Squares. Also, it will make my day if you tag @mirjamskitchenyodel on Instagram, share on Facebook or pin on Pinterest.
If you liked this recipe, you might also want to try the following:
Valentine’s Day Chocolate Heart Candy
Apple Cinnamon Streusel Muffins

Red Velvet Cheesecake Squares
Ingredients
Cream Cheese layer:
- 460 g Cream Cheese softened
- 180 g Powdered sugar
- 2 Eggs
- 2 tsp Vanilla extract
Red Velvet Batter:
- 120 g Butter
- 300 g Granulated sugar
- 2 Eggs
- 2 tsp Vanilla extract
- 160 g Vegetable oil
- 150 g Buttermilk
- 1 tsp White vinegar
- 350 g Flour
- 2 tbsp Cocoa powder
- 1/2 tsp Baking soda
- 1 tsp Salt
- 1/2 tsp Red food coloring
- 3 tbsp Milk to add to the set aside batter at the end
Instructions
Cream Cheese topping:
- Mix softened cream cheese and powdered sugar until combined.
- Add the eggs (one at a time, mixing in-between) and vanilla extract, and beat with a hand mixer until well incorporated and smooth. Set aside.
Red Velvet Batter:
- Preheat the oven to 350°F or 180°C.
- Line a 13×18 baking sheet with parchment paper all the way up around the sides.
- In a medium-sized mixing bowl, combine all-purpose flour, cocoa powder, baking soda, and salt. Set aside.
- Add softened butter and sugar in a large mixing bowl, and mix with a hand or stand mixer until sugar is moist and well incorporated. Then add the vanilla extract and mix some more.
- Add one egg at a time and mix well before adding the next egg. Beat until there is no egg visible.
- Slowly add the vegetable oil; keep mixing while adding it to the batter.
- Combine the white distilled vinegar with the buttermilk and add it to the batter.
- With a sifter, sift the dry ingredients into the batter and mix until just incorporated.
- Add half a teaspoon of Red food coloring to the batter and mix until you have evenly red cake batter and no more flour lumps are visible.
- Pour about 3/4 cup of cake batter into a small bowl and set aside. You will need that to drip it over the cheesecake topping at the end. Next, scoop the rest of the batter into the lined baking sheet and spread it into an even layer with an offset spatula.
- Add 3 tbsp milk to the bowl with the set-aside batter and mix well with a whisk.
Layer and bake:
- Pour the cream cheese topping over the red velvet cake batter and spread it evenly.
- Then add drops of the thinned cake batter randomly on the cheesecake.
- Swirl them with the cheesecake topping with a knife or a spoon to blend the red and white colors together. Continue until you have the desired pattern you like.
- Then bake for 20-25 minutes.
Cool and cut:
- Let the cake cool for 30 minutes.
- Then cut it into equal squares to the size of your liking (I usually cut mine into 4.5×4.5cm squares).
Notes
➙ They stay good for three days in the refrigerator or up to 2 months in the freezer. Place them in a freezer-safe container. To thaw, take them out of the freezer for at least an hour before eating them.
